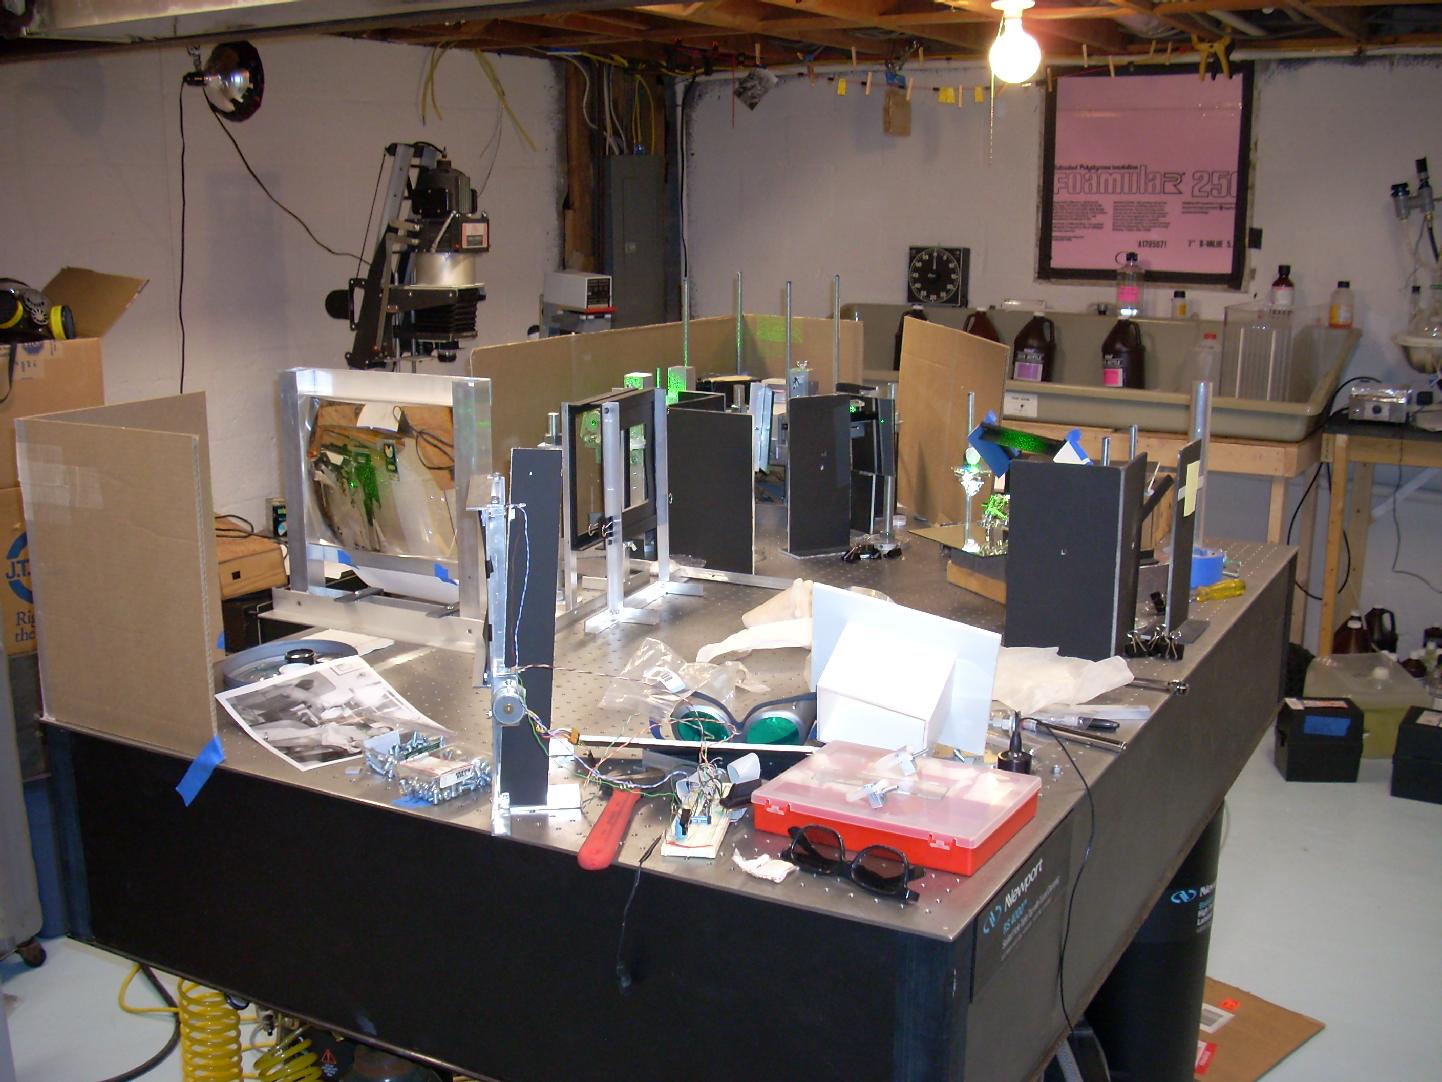
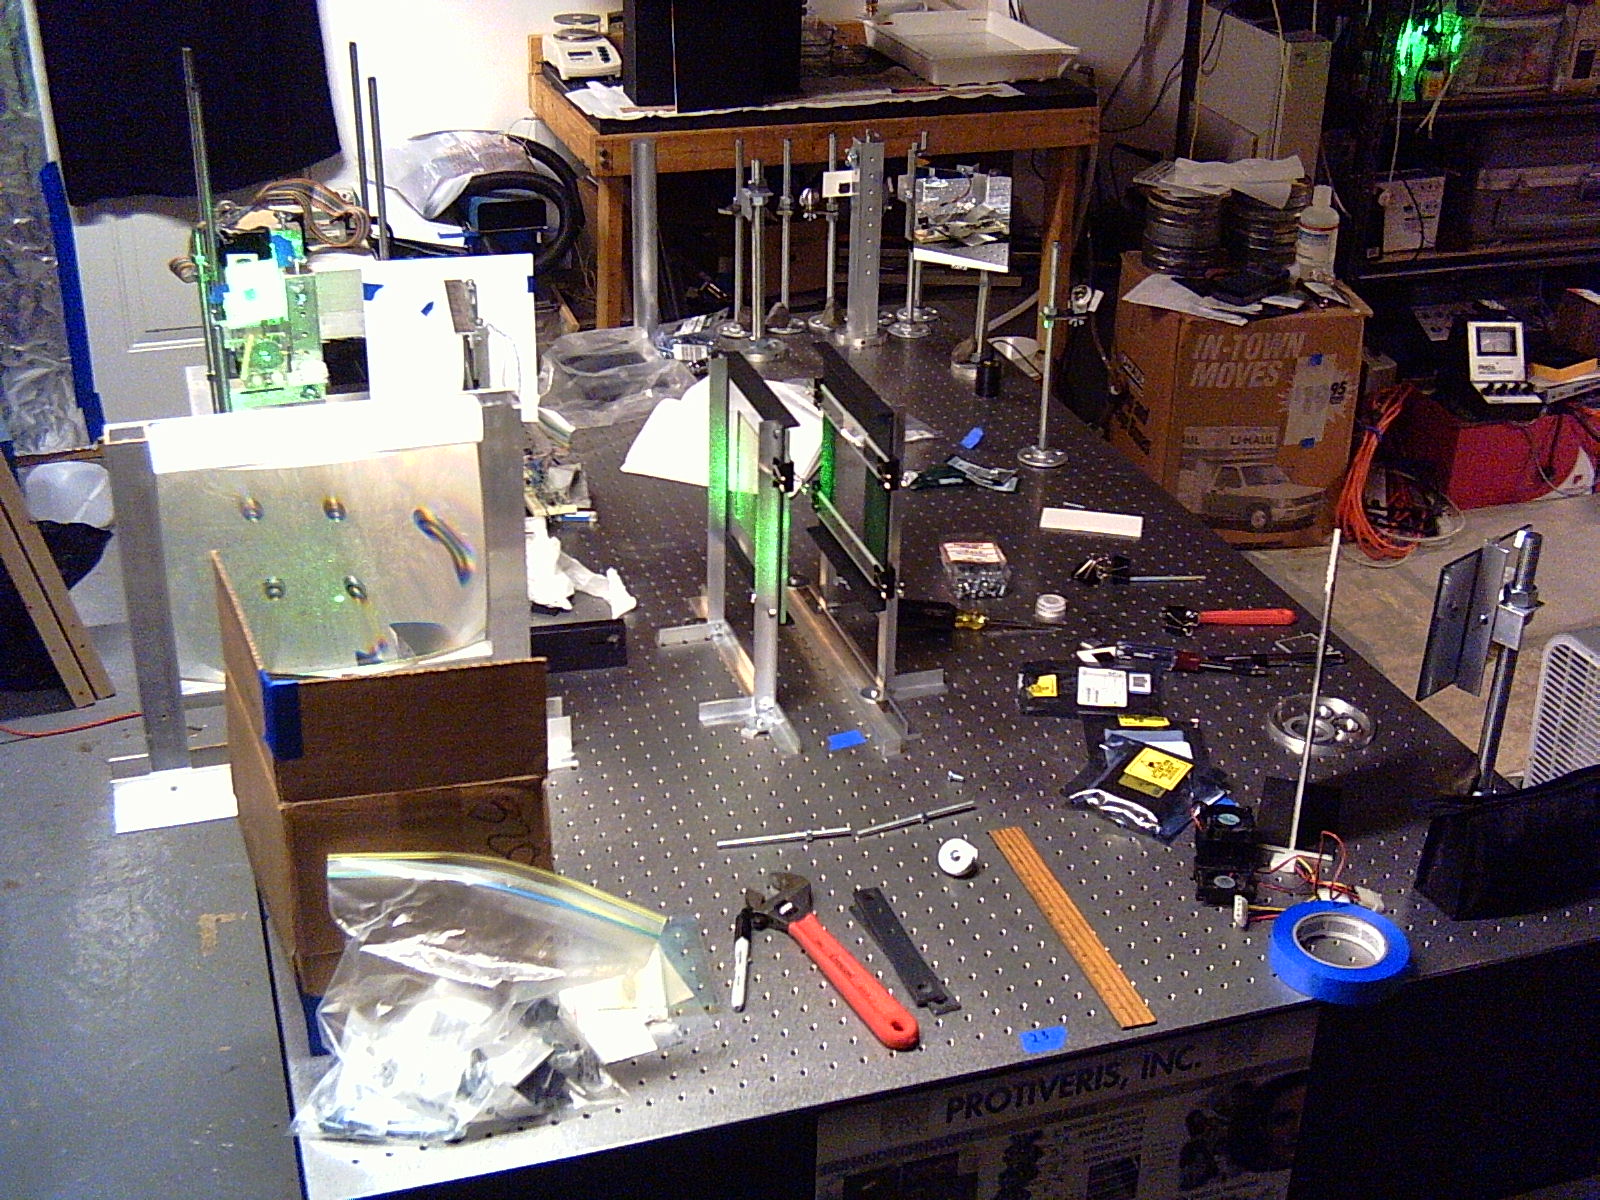
I'm incrementing the major revision number because I got a new table. The majority of the components are the same though.
So I got a full-blown optical table... From a local auction house. A .com .bombed in Rockville, and their stuff was auctioned. Their marketing stuff was still attached to the table, they were doing some cool nano-machine stuff they might have been good to work for (except for the whole going out of business thing.).
The table top is 1 by 4 by 6 feet, so not quite a monolith (1x4x9, the squares of 1,2,3.) It could be argued to be a manufacturing error though, the 6 having been inverted. It has the pneumatic legs and automatic leveling valves. It makes impressive hissing noises when its floating and you poke it. The holes are also individually sealed, so if you run your hand along its surface quickly, it makes a noise sort-of like a bunch of frogs.
I've been feeding the pneumatics dry nitrogen from a 60 cubic foot bottle. No compressor vibration, and no water or other gunk to screw up the effectively irreplaceable valves. The only problem with buying research lab surplus is that spare parts can't be had for the same surplus prices. I got the nitrogen from a welding place, when it goes empty just take it back and swap for a full one $30.
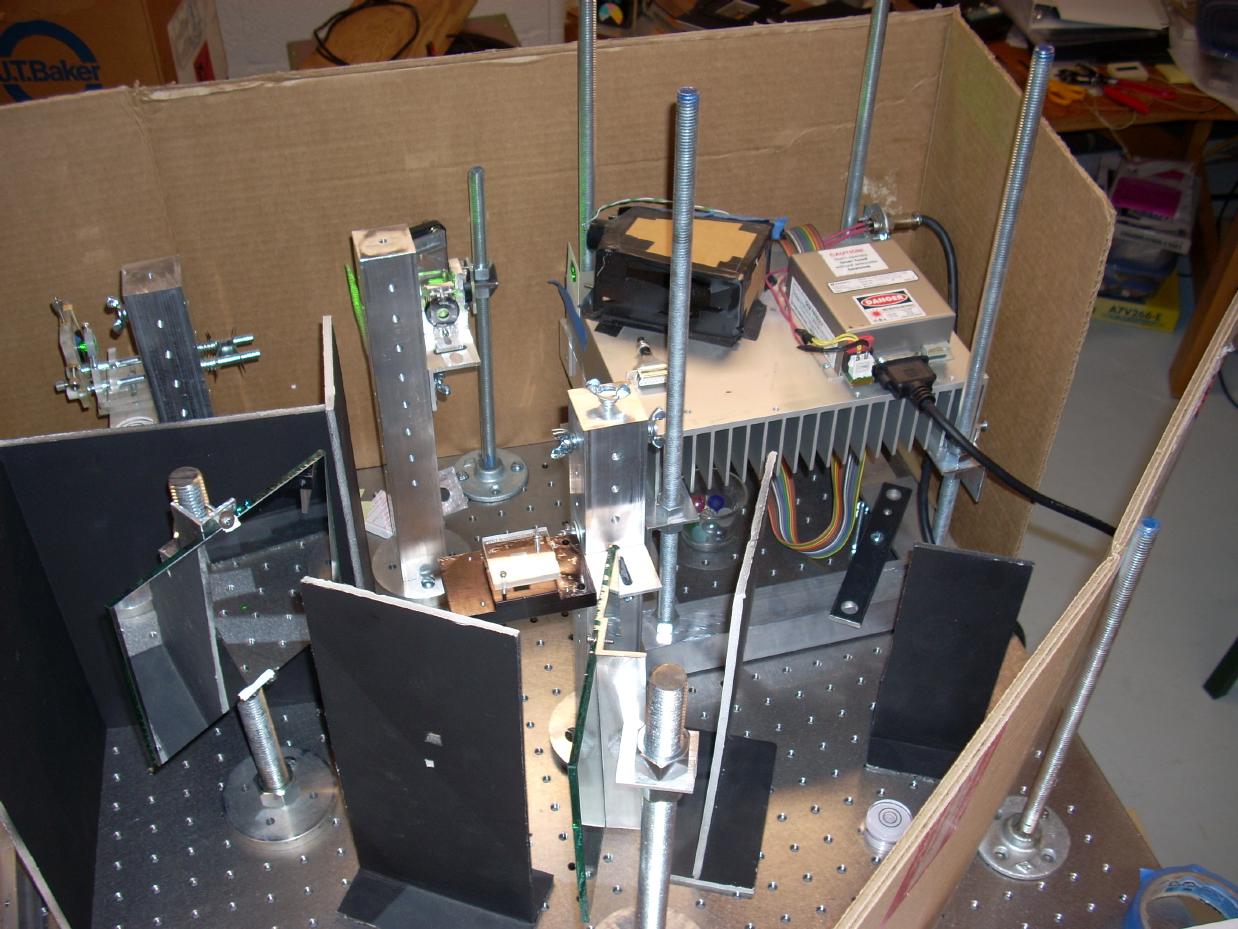
My laser stand is unchanged, though now at a different height. My 1.5 inch square columns (from version 3.1) are also visible, with angle brackets holding my new variable beam splitter (immediately to the left of the laser) and spatial filter (to the left of the variable beam splitter. My old beam splitter is also visible closer to the camera. I use it for splitting the object illumination beam (for 3 beam holograms.). The mirror mounts are from version 3.1 as well.
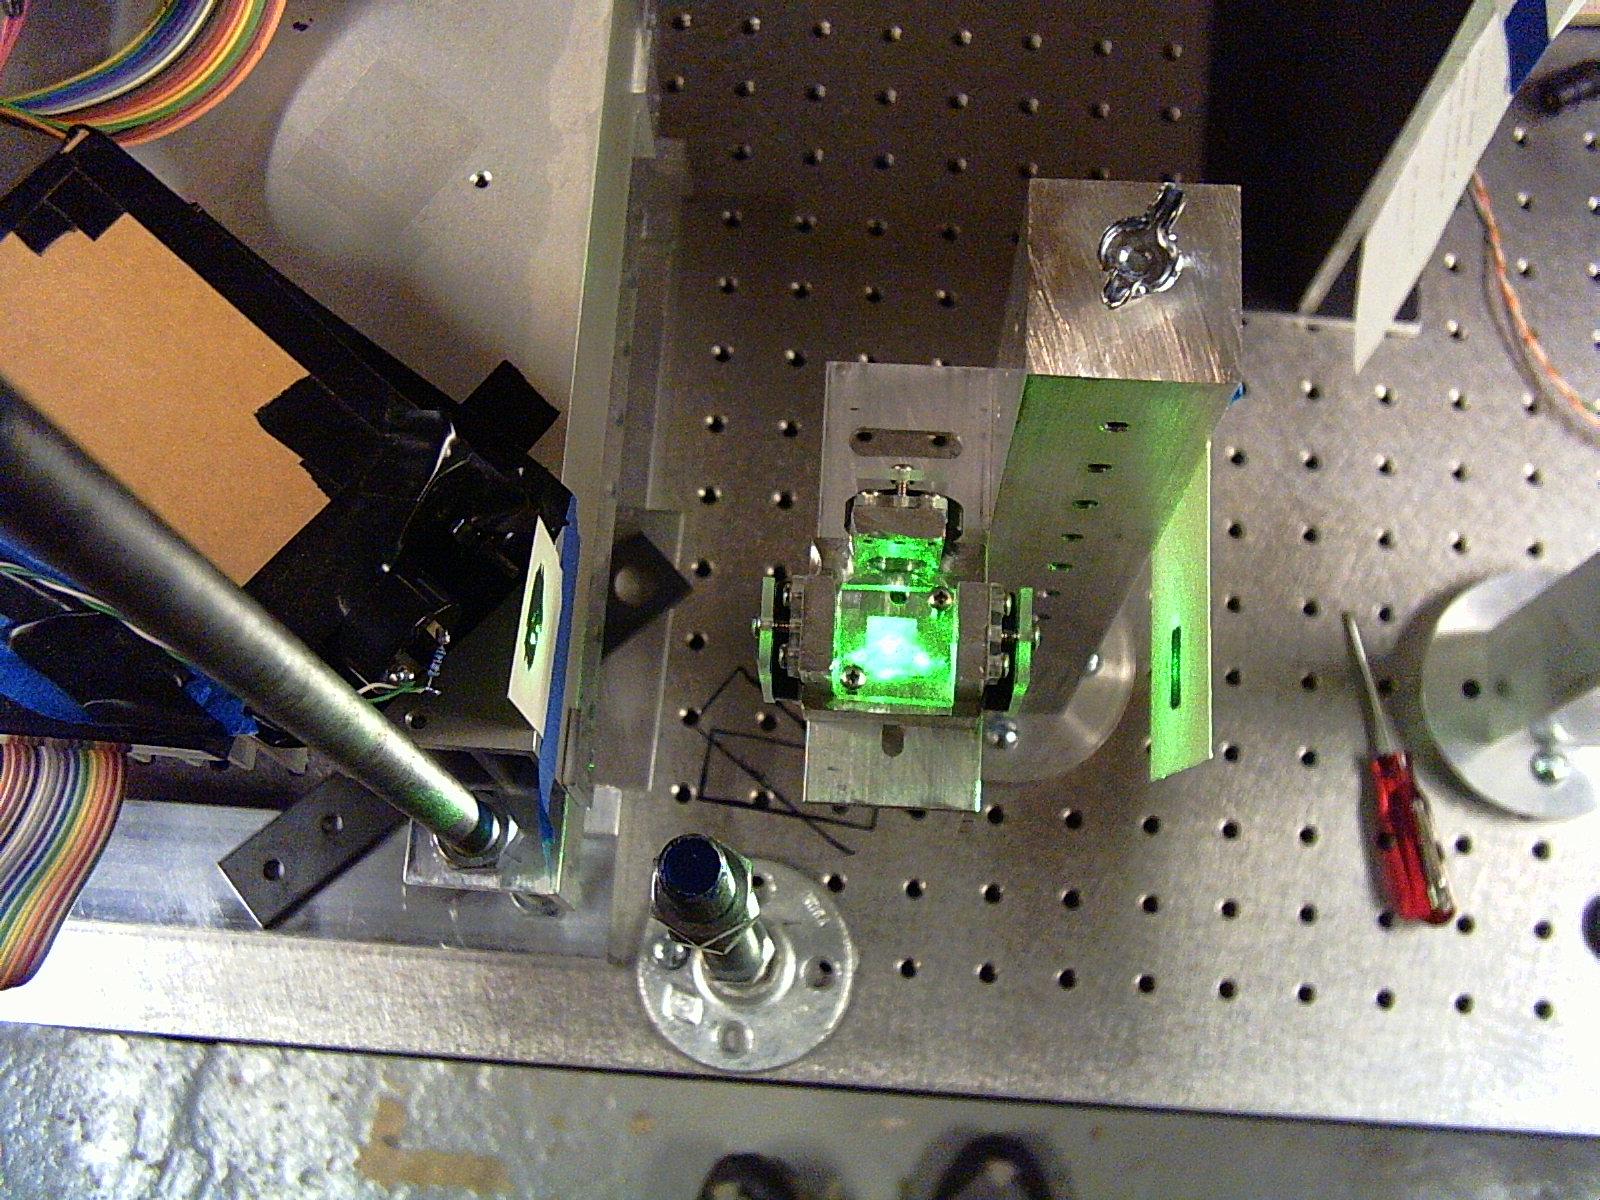
I have a new beam splitter, featuring correctly AR coated proper 532nm half wave plates. It was made from a 1.5 inch cube of aluminum, it has a bit of the "my first milling machine project" look (since it was...), but it works.
Looking down the reference beam from the laser, my beam splitter can be seen slightly better, as well as the collimating lens from 3.1 in the distance. There is a steering beam after the lens, which bounces the reference beam to the left and back towards the camera, where the plate holder is.
I put cardboard behind the mirrors, to block air currents. The cardboard is held in place with magnets taped to the cardboard which stick to the table.
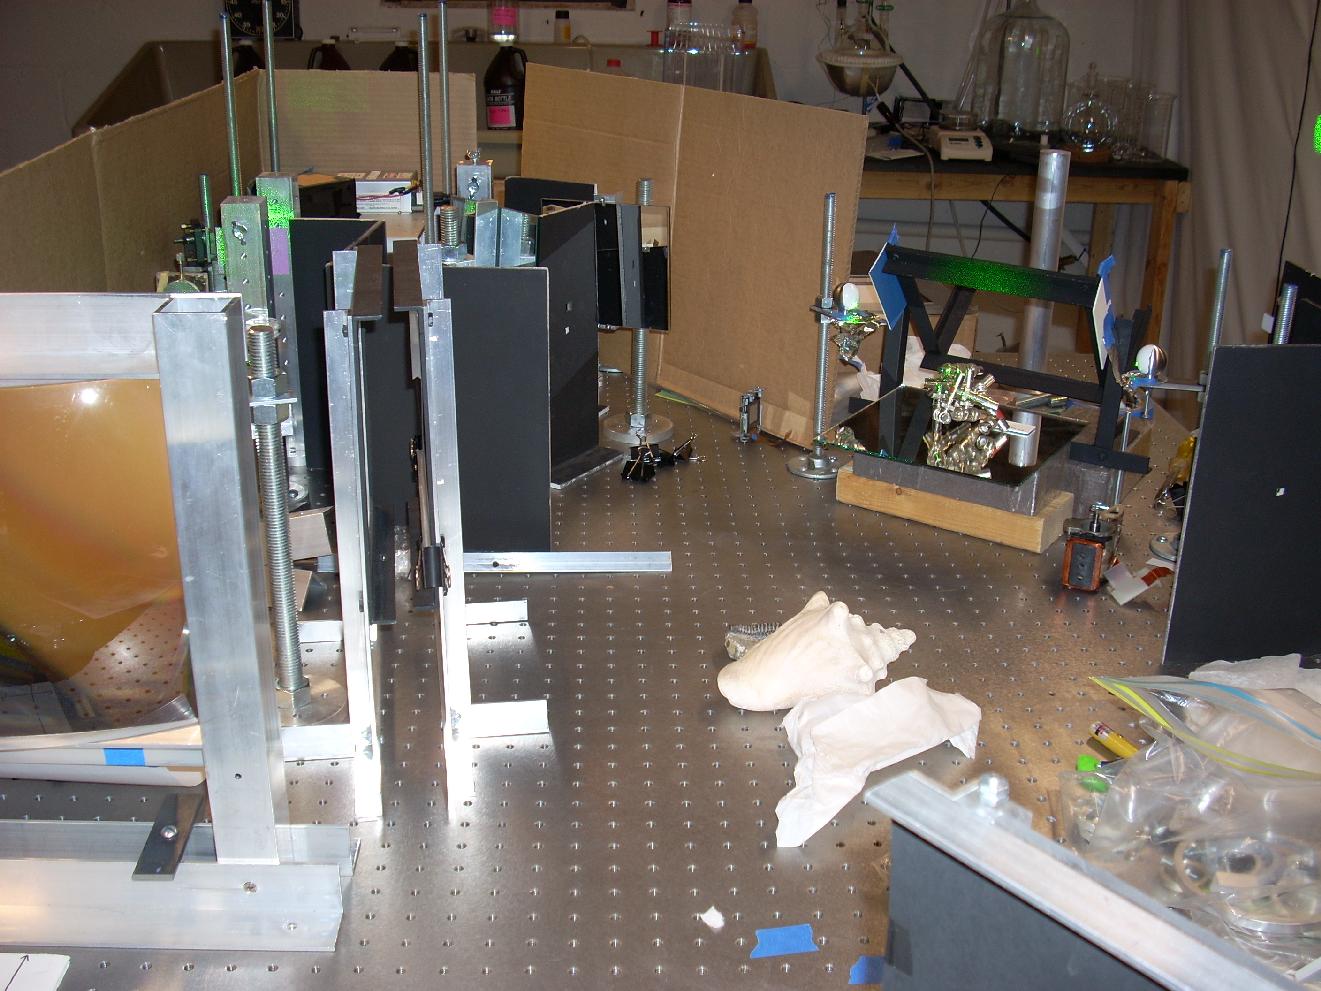
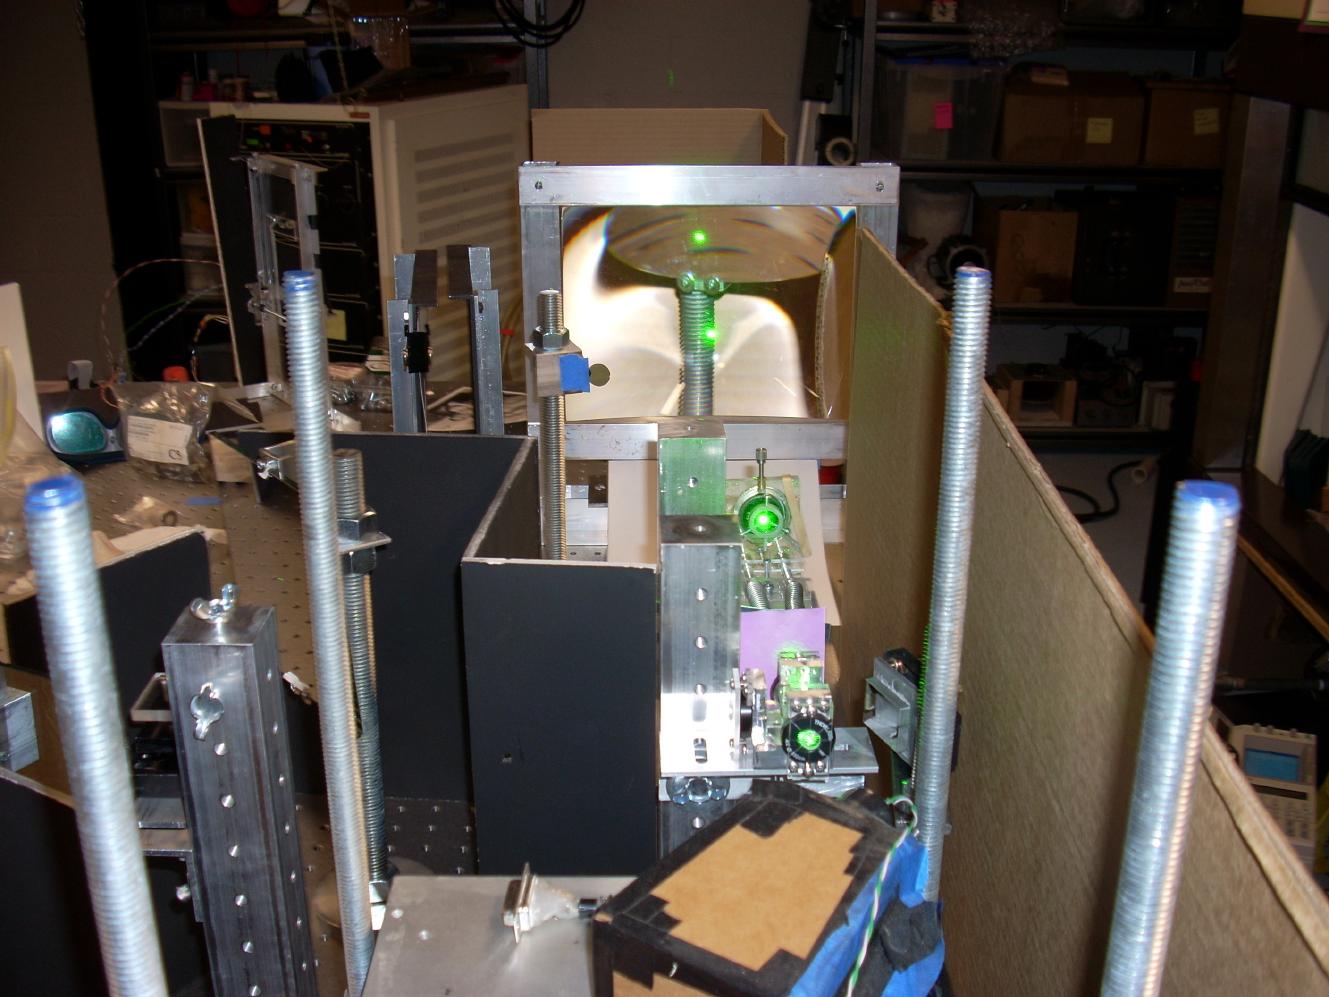
The bounce mirror for the reference beam is off camera to the left. You can see the collimating lens and reference beam line to the left. To the right is the plate holder (the 45 degree angled bracket.) That thing dates to version 2.0. The plate itself is held in a Plexiglas holder which is clipped to the frame with binder clips. I can handle the whole assembly by the Plexiglas edges, and its repeatable to an eighth of an inch or so. To use film, I sandwich the film between two pieces of glass, which are then clipped in just like the Plexiglas holder.
The object (a pile of BNC Ts) sits below the film holder. My geometry is slightly odd in that my reference beam is parallel with the table, and the object is tilted. Object illumination is done by bouncing small beams off the two spherical knobs on either side of the plate holder. (note the baffles which prevent the light from hitting the plate directly. The knobs have a couple of different surfaces (brushed metal, matte white, glossy white), rotate the knob to select.
The configuration shown is for transmission masters. To make image planed H1H2 copies, I put two plate holders vertically (they can be seen pushed over by the big lens) on the end of the table, and redirect the reference beam slighty. I don't have to re-arrange the spatial filter or collimating lens.